To ensure you can enjoy the perfect cup of coffee at home, we’ve developed these basic brewing and cleaning tips for most brewing equipment.
Here you will find all of the information required to enjoy a perfect cup of coffee – at home.
Basic Brewing Tips
Always start with fresh water (preferably filtered), using the correct water to coffee ratio – as recommended for your coffee-making equipment.
Use the correct grind to suit your coffee-making equipment.
Allow approximately two tablespoons of coffee per cup (vary to taste).
Never re-use grounds or reheat left-over coffee, it will taste bitter.
Coffee should be stored in the Zarraffa’s Coffee resealable foil bags – away from moisture, light and heat.
Maintaining the Freshness
To ensure freshness, Zarraffa’s Coffee recommends purchasing coffee beans in small quantities.
Whole beans can be stored in the freezer for 12 months – grind as required, from the freezer. Ground beans can be stored in the freezer for three months. Storing beans in the freezer slows down the degenerative process of the bean.
Air, moisture and light are all enemies of the bean and accelerate the degenerative process. Roasted coffee exposed to air releases carbon dioxide and various other gases. The coffee oils in which most of the flavour and aromas reside react with oxygen and become rancid. When moisture penetrates the coffee, it dissolves the same components that you want in your brewed cup resulting in a loss of flavour. Light and heat creates the energy that drive these undesirable reactions.
After purchasing coffee beans, store them in the custom made re-sealable bag in which they are purchased. These bags are specially designed to keep out air, moisture and light. The bags feature a one way valve to release the carbon dioxide produced by the bean and have a foil front to stop light impacting the bean.
brewing methods

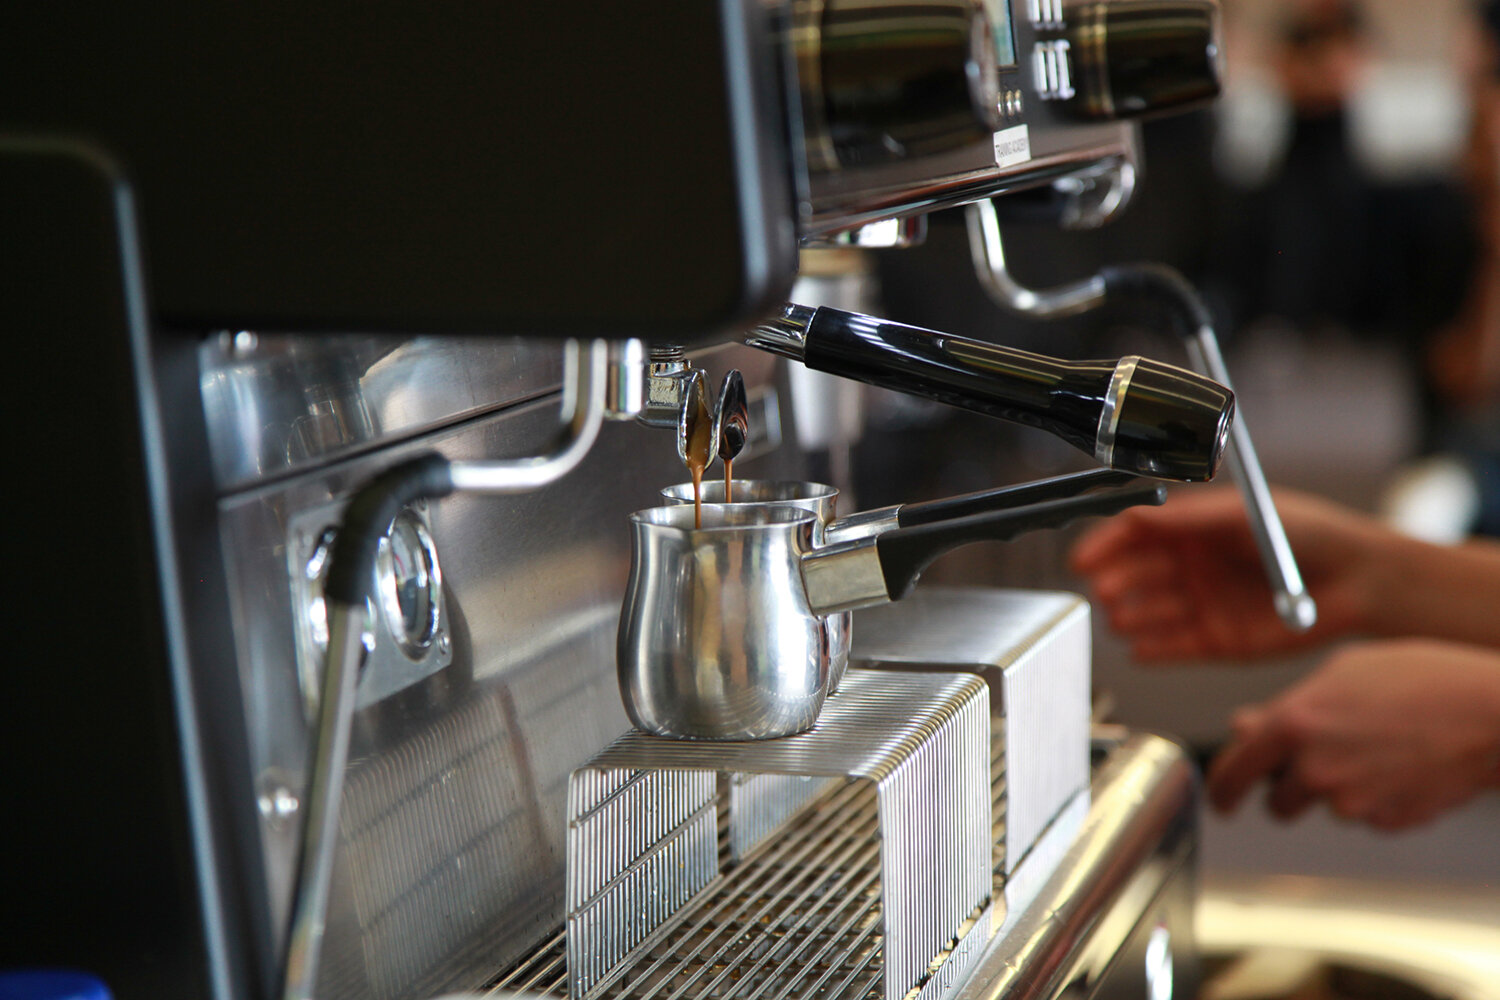
HOME ESPRESSO MACHINE
Brewing
Fill the espresso machine reservoir or boiler with water. Warm up the machine according to manufacturer directions. (Please note: as all home espresso machines vary according to which brand you purchase, you should take the time to ensure you familiarise yourself with your specific machine.)
Fill the portafilter (or coffee basket) with the desired amount of finely ground coffee. Tamp or press down, then wipe off any excess grounds from the lip of the basket.
Replace the portafilter in the group head of the machine and start the espresso machine to make a 30ml espresso shot. Stop the machine once you have the desired amount of espresso.
After extracting the shot of coffee, empty the portafilter and rinse thoroughly.
Steam and froth milk in a pitcher using the steam wand (located on the side of machine) by placing the steam wand into the milk and turning the wand’s knob on. Heat until the milk reaches the desired temperature (approx. 60 -70°) and turn the knob off.
Pour the heated milk into the espresso shot in a coffee cup.
Cleaning
Turn the machine off and unplug it before getting started. Carefully read and follow the manufacturer’s instructions that came with your espresso machine.
Back flush the machine as often as is recommended by the manufacturer. This should be done about twice a week using an espresso machine cleaner.
Unscrew the group head using a screwdriver and remove it.
Scrub the parts of the group head, including the screen and the brass dispersion plate, with a brush and plain water until everything is clean. You may have to soak these parts overnight in water mixed with an espresso machine cleaner.
Clean the milk wand with a damp cloth, or remove it and soak in warm water to remove milk residue. If needed, use a pipe cleaner to remove residue inside the wand, and a pin or paper clip to unclog the steam hole.
To decalcify the interior, run a mixture of one part white vinegar to one part water through the machine. Following this, run plain water through the machine two or three times.
Reassemble the machine.
Wipe off the outside of the machine with a damp cloth.

stovetop espresso maker
Brewing
Thoroughly clean your stovetop espresso maker prior to using it for the first time, using soda water and bicarbonate. It is advisable to dispose of the first few coffees you make so that the coffee aroma may soak into the various components of the coffee maker.
Fill the boiler of your stovetop espresso maker with water up to, not above, the safety valve.
Spoon ground coffee beans into the funnel shaped filter basket and press down lightly. Place filter basket on top of boiler. Screw upper container into place.
Place your stovetop espresso maker on a burner on low heat. A gas stove is ideal, however electric will work as well. Watch and listen for the sound of coffee coming up the hollow column. When the upper container of your stovetop espresso maker is almost completely filled with coffee remove from the heat.
Before pouring your coffee, mix the thicker, first sprouted coffee with the lighter coffee that sprouts afterwards.
Pour espresso into espresso cups or mix with steamed milk for the coffee drink of your choice.
Cleaning
Disassemble the espresso maker. Clean the insides of upper container and boiler with soda water & bicarbonate. Clean the rubber gasket, funnel shaped filter and upper filter in the same solution.
Clean inside the hollow column using a bottle brush or pipe cleaner.
Rinse all parts with warm water.
To avoid odours leave espresso maker disassembled when not using it.

plunger/french press
Brewing
Thoroughly clean your plunger prior to using it for the first time using warm soapy water. Rinse well.
Warm glass cylinder by filling with hot water prior to making your brew. Leave for a few minutes.
Once glass cylinder is warm, place coarse ground coffee into the pot – One scoop or one rounded tablespoon per cup. I.e. a four cup plunger would need four scoops of coffee.
Pour enough hot water (not boiling) into the plunger to cover the ground coffee. Stir with a plastic spoon – metal spoons can scratch or chip the glass cylinder. Crema should start to form. Fill the plunger, leaving a minimum of 2.5cm of space at the top.
Place the plunger unit on top. Turn lid to close off the pour spout opening. Allow the coffee to brew for three to four minutes.
Hold the pot handle firmly with the spout turned away from you. Apply slight pressure on top of the knob to lower the plunger straight down into the pot. Lowering the plunger slowly with minimal pressure produces best results. If the filter clogs or it becomes difficult to push down, you should remove the plunger from the pot, stir the brew and then slowly plunge again. Please note: Using excessive force can cause scalding liquid to shoot out of the pot.
Turn the lid to open the pour spout and then pour coffee.
Cleaning
Empty the glass cylinder of spent coffee grounds, making sure to leave no remnants. Soak empty cylinder in warm soapy water. Disassemble the cap and plunger by grasping the metal bottom of the plunger and twisting until the plunger loosens and come off – the cap will simply slide off once the plunger is removed. Place these components in the warm soapy water to soak
Run cold water over the freshly washed components to remove excess soap and oils, repeating this process until the parts are completely clean.

drip filter
Brewing
Clean the coffee maker equipment thoroughly prior to its first use.
Place a coffee filter in the filter basket. Some models come with reusable wire filters, and some use disposable paper filters.
Spoon into the filter basket the appropriate amount of ground coffee for the number of cups you will be making. The amount will depend on the recommendations of the coffee machine manufacturer and your personal preference for coffee strength. The typical amount is one to two tablespoons of ground coffee per 180 ml of water.
Use a measuring cup to add the correct amount of cold water to the reservoir. This is typically located on top of the coffee maker, underneath a hinged cover. The amount you add will depend on the number of cups you are making and how strong you like your coffee.
Close the filter basket and the water reservoir cover and turn the drip filter on.
Wait until the coffee maker has stopped the brewing cycle before removing the pot. Then pour and enjoy.
Cleaning
Put the filter basket in place.
Combine one part white vinegar with one part water in the pot; pour it into the reservoir and replace the pot. Turn the machine on.
Allow the solution to empty completely into the pot.
Turn the coffeemaker off and rinse the pot and filter basket with warm water.
Pour clean water into the reservoir and turn it on.
Allow the water to empty completely into the pot. Rinse the pot.
Wipe the outside of the coffeemaker with a soapy sponge and polish it dry.

percolator
Brewing
Fill the percolator with water to the desired level using the markings on the side wall of the coffee pot.
Put the coffee pot basket onto the pump stem, and insert into the percolator. If you want to use a paper filter with your percolator, place it into the basket before adding the coffee grounds.
Add one tablespoon of coarsely ground coffee per cup into the basket.
Place the basket cover on top of the basket, then put the percolator top on making sure that it closes securely.
If a stovetop percolator, set the percolator onto the stove and cook over medium heat. As the coffee percolates, watch the colour through the glass top. Since there is no automatic thermostat on a stove-top percolator, the only way to judge the strength of the coffee is by how dark it appears inside the glass bubble as it brews.
Remove the percolator from the stove and serve the coffee.
Electric percolators can be plugged in and simply allowed to percolate. They have thermostats that automatically stop the percolation process after a certain time, and they keep the coffee warm automatically.
The filter basket (filled with grounds) should be removed as soon as percolation is complete. Take the cover off carefully to avoid scalding yourself, pull out the filter basket and discard the used grounds. If you leave the old grounds in the pot, steam will condense on top and drip back into the coffee. This will strengthen the brew and make it bitter.
Cleaning
Remove the basket, stem and cover and wash thoroughly with warm soapy water. Rinse and allow to dry.
Wash the pot with warm soapy water. Pour some of the soapy water through the spout, use a pipe cleaner to clean thoroughly. Do not immerse the percolator in water.
Scour the heating well area at the bottom of the pot with a pad.
Drain, rinse thoroughly and allow to dry. Store with the lid loose or off.
Once a month, to remove mineral deposits, fill the pot halfway with vinegar. Fill to its measured capacity with water. Assemble and allow it to run through its full cycle. Allow to stand undisturbed for 15 minutes. Drain and allow it to cool. Disassemble and wash thoroughly with warm water.

turkish ibriq
Brewing
Add cold water to your ibriq – but only so far as the neck of the ibriq itself, to allow room for foam.
Add heaped teaspoons of finely ground coffee – E.g. A four ounce ibriq would need approximately two heaped teaspoons, an eight ounce ibriq would need approximately three.
Add sugar, according to your taste. Stir the slurry of water, coffee and sugar until the sugar dissolves. You can also add various spices – cardamom or anise, for example, at this step.
Brew your coffee over medium to low heat. Watch carefully and do not stir.
Pay attention as the mixture starts to froth. As the froth works its way up to nearly the top of the ibriq, remove the ibriq from the heat. Turkish coffee can froth up extraordinarily quickly, and can easily make a mess if not watched. Once the coffee has been removed, let it settle.
Return the ibriq to heat, and repeat Step 4 twice more, for a total of three boils. Optionally, you can stir the foam after the final third boil – this settles the grinds, but reduces the foam.
Let sit for 30 seconds and serve.
Cleaning
Wash thoroughly in warm soapy water.
Rinse and dry well.
If it is a copper or brass pot and becomes tarnished, boil in a pot of water with one tablespoon salt and one cup vinegar.
Wash in warm soapy water. Rinse and dry.
Minipresso
Brewing
Add Zarraffa’s Okapi capsule to the outlet head.
Add hot water into the water tank.
Unlock the pump from its travel position and pump to extract the delicious espresso with generous crema.
Cleaning
The Minipresso can be taken apart to clean as needed.
Lightly rinse or wash in warm soapy water depending on requirements. Dry well.

DELTER COFFEE PRESS
Brewing
You can make from one to four cups per pressing. Each pressing only takes about a minute, so you can serve a houseful of guests in a few minutes. Just follow these easy steps.
Remove the plunger and the cap from the chamber.
Put a micro-filter inside the cap and twist the cap onto the chamber.
Stand the chamber on a sturdy mug. A glass mug is fun, it lets you watch the process.
Put ground coffee into the chamber - one scoop for each espresso or five-ounce American cup, up to a maximum of four scoops.
Cleaning
You can clean the top shelf, but a simple rinse is sufficient because the plunger wipes the chamber.
Occasionally remove the seal from the end of the plunger for a good wash inside and out with warm water and dish soap.
We hope you enjoy brewing your favourite coffee at home! Don’t forget to speak to your barista about your preferred brewing method when purchasing your coffee beans.